
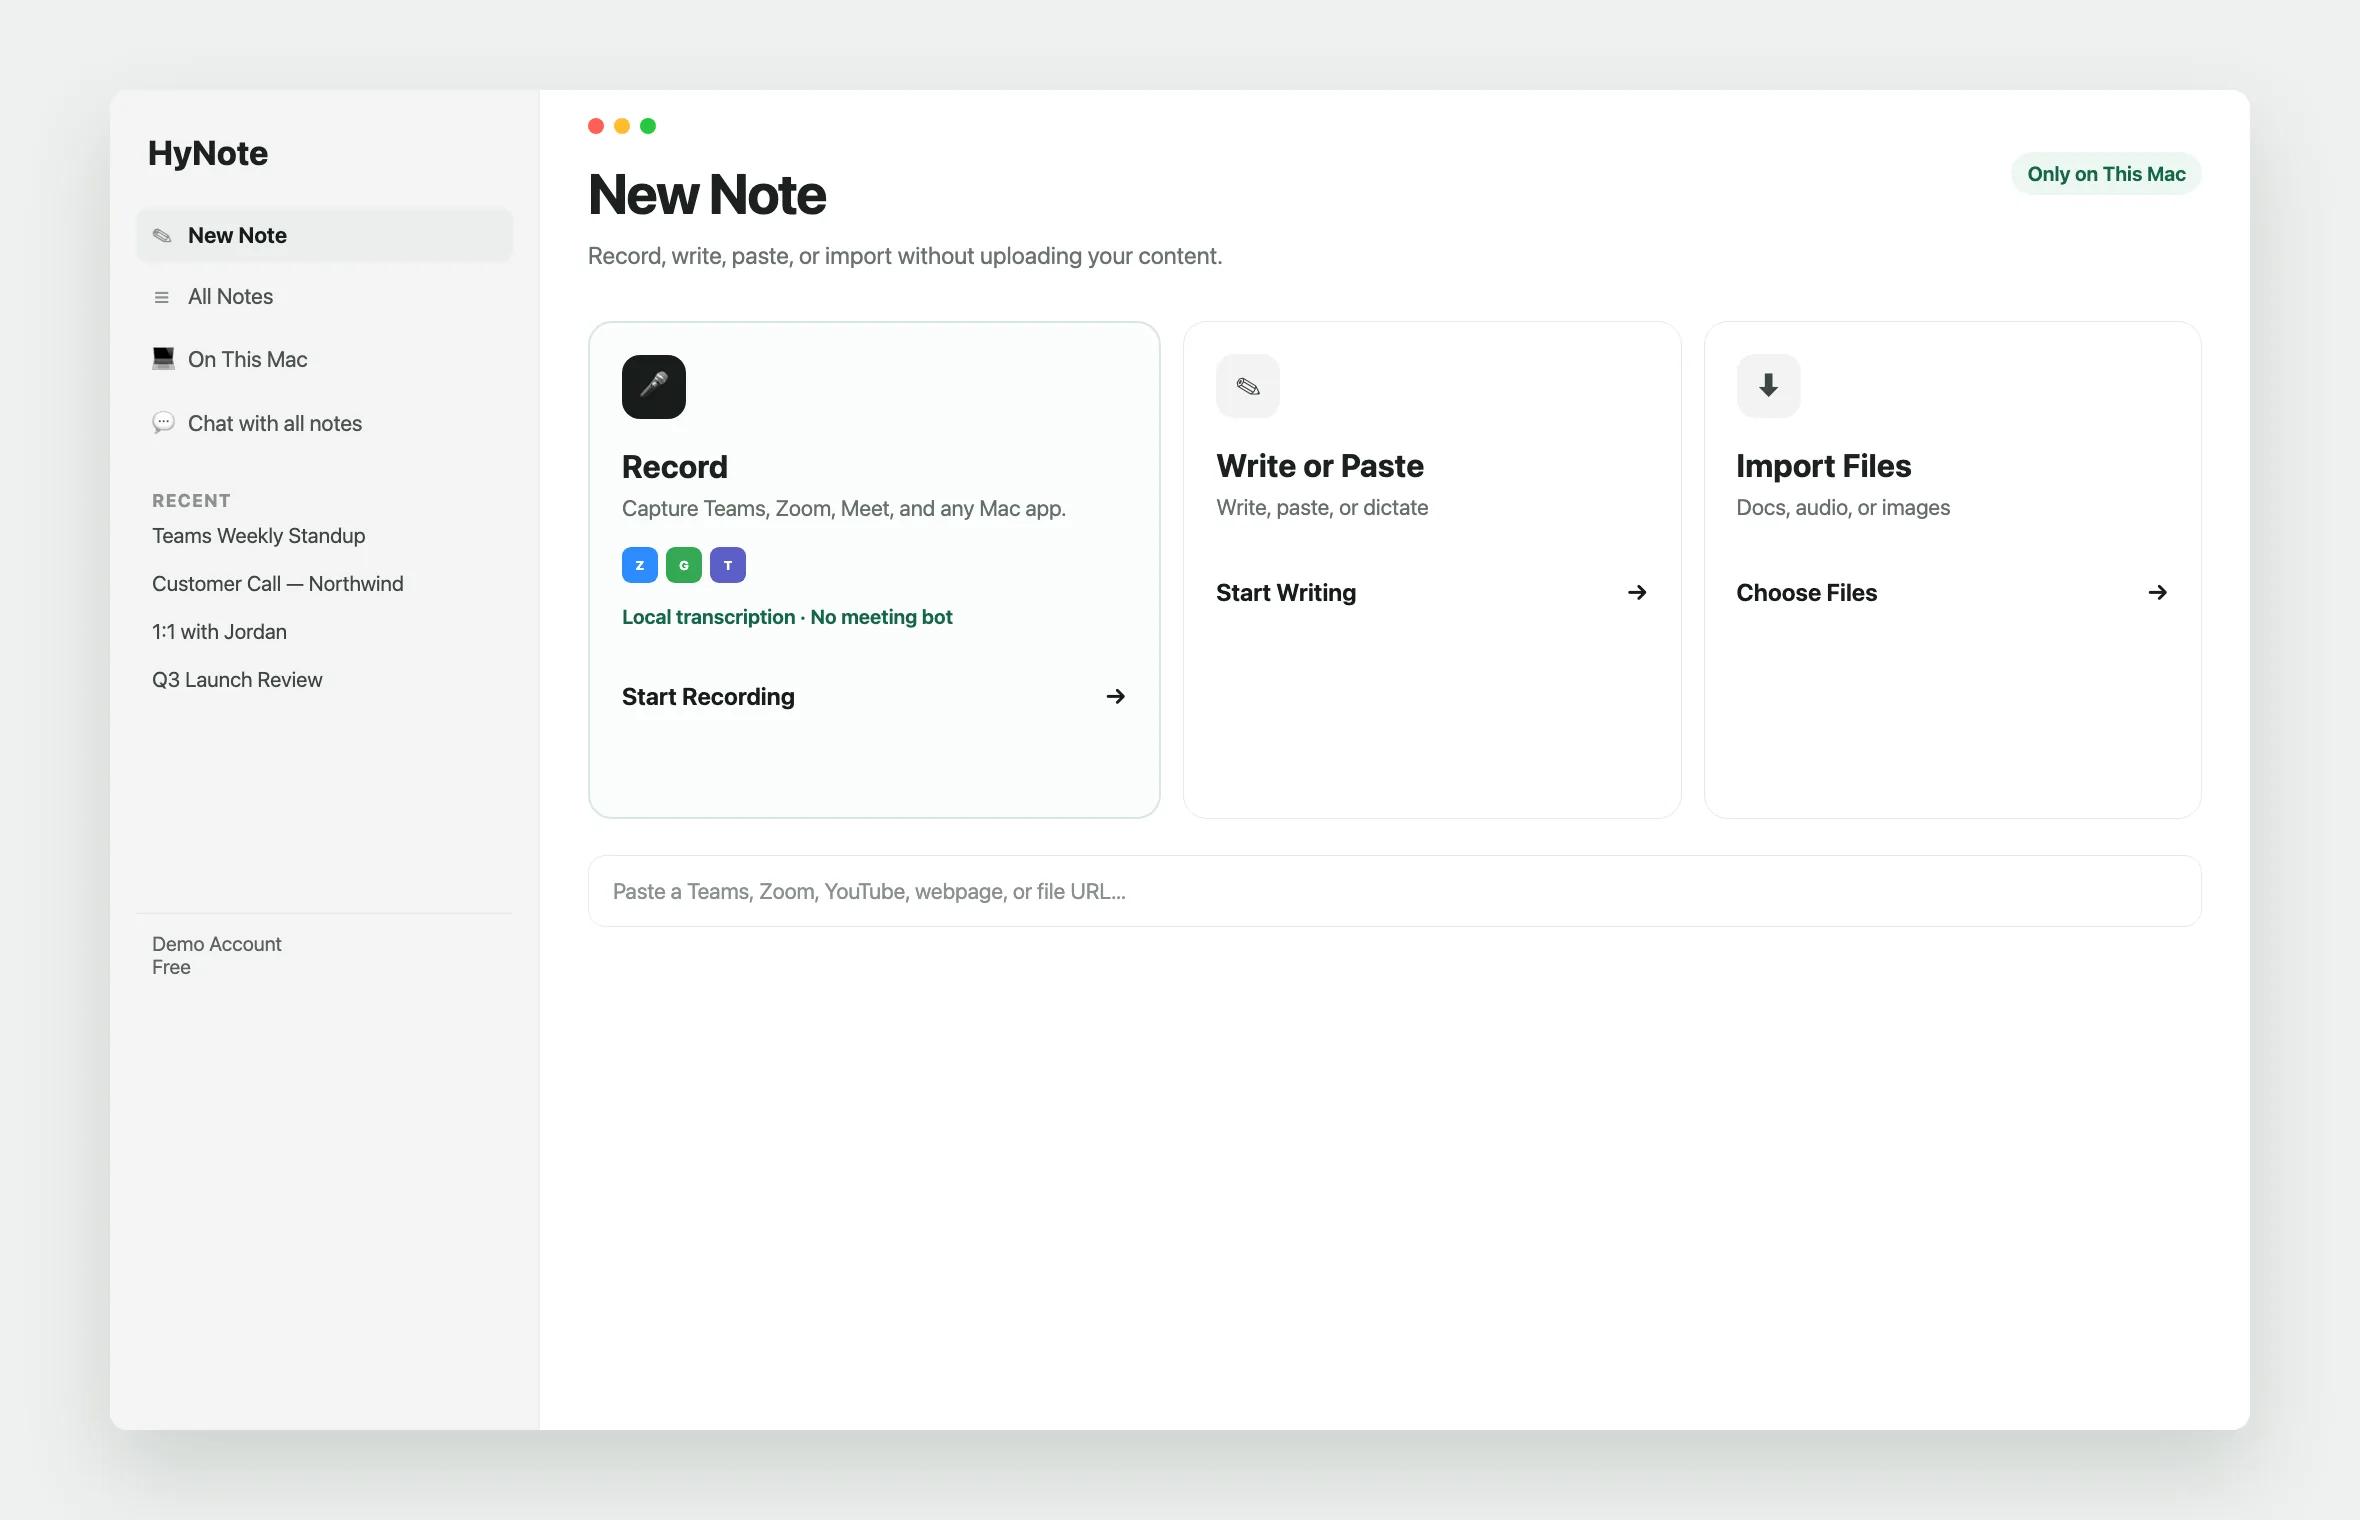
What “system audio + microphone” actually means
| Source | What you hear in the file | Typical Mac permission | Common use |
|---|---|---|---|
| Microphone only | Only the voice near the Mac | Microphone | Voice memos, in-person interviews |
| System audio only | Only the sound apps play (the other side of a call, a video) | Screen & System Audio Recording | Capturing a playing video or call without your commentary |
| System audio + microphone | Both sides of a meeting, plus room voice on the Mac | Both permissions | Meetings, interviews, classes on Zoom / Meet / Teams |
macOS names the system-audio permission Screen Recording or Screen & System Audio Recording, depending on the system version. HyNote uses that access to capture meeting audio. It does not record screen video.
Use this Mac-level workflow when the useful output is audio, a searchable transcript, decisions, and next steps. Use the meeting app’s built-in recorder when you need the official meeting video or a recording managed by your organization.
Why one side is often missing
Two permissions, two failure modes:
Only my voice in the recording
HyNote has Microphone access, but system audio is blocked or not enabled. The call plays through the Mac, but nothing writes those app sounds into the file.
Only the other side in the recording
System audio is fine, but the selected microphone is wrong—commonly after AirPods or a USB headset connected and macOS switched the input.
Headphones change both problems at once: they move call audio away from the speakers (good for echo) and often change the default input (bad if you do not re-check the mic). Test after the headphones are connected, not before.
Record system audio and microphone with HyNote for Mac
HyNote for Mac captures the sound playing through the Mac together with the selected microphone in one Meeting Recording. The same setup works with Zoom, Google Meet, Microsoft Teams, FaceTime, browser tabs, and other Mac apps that play audio.
HyNote requires macOS 14 or later and supports Intel and Apple silicon Macs. For storage, transcription modes, and every setting in the app, read the HyNote for Mac user guide. For device and language limits, see languages and availability.
1. Install HyNote for Mac
Download HyNote and open the application. Complete sign-in and initial setup. Prepare any on-device model on a stable connection before an important meeting.
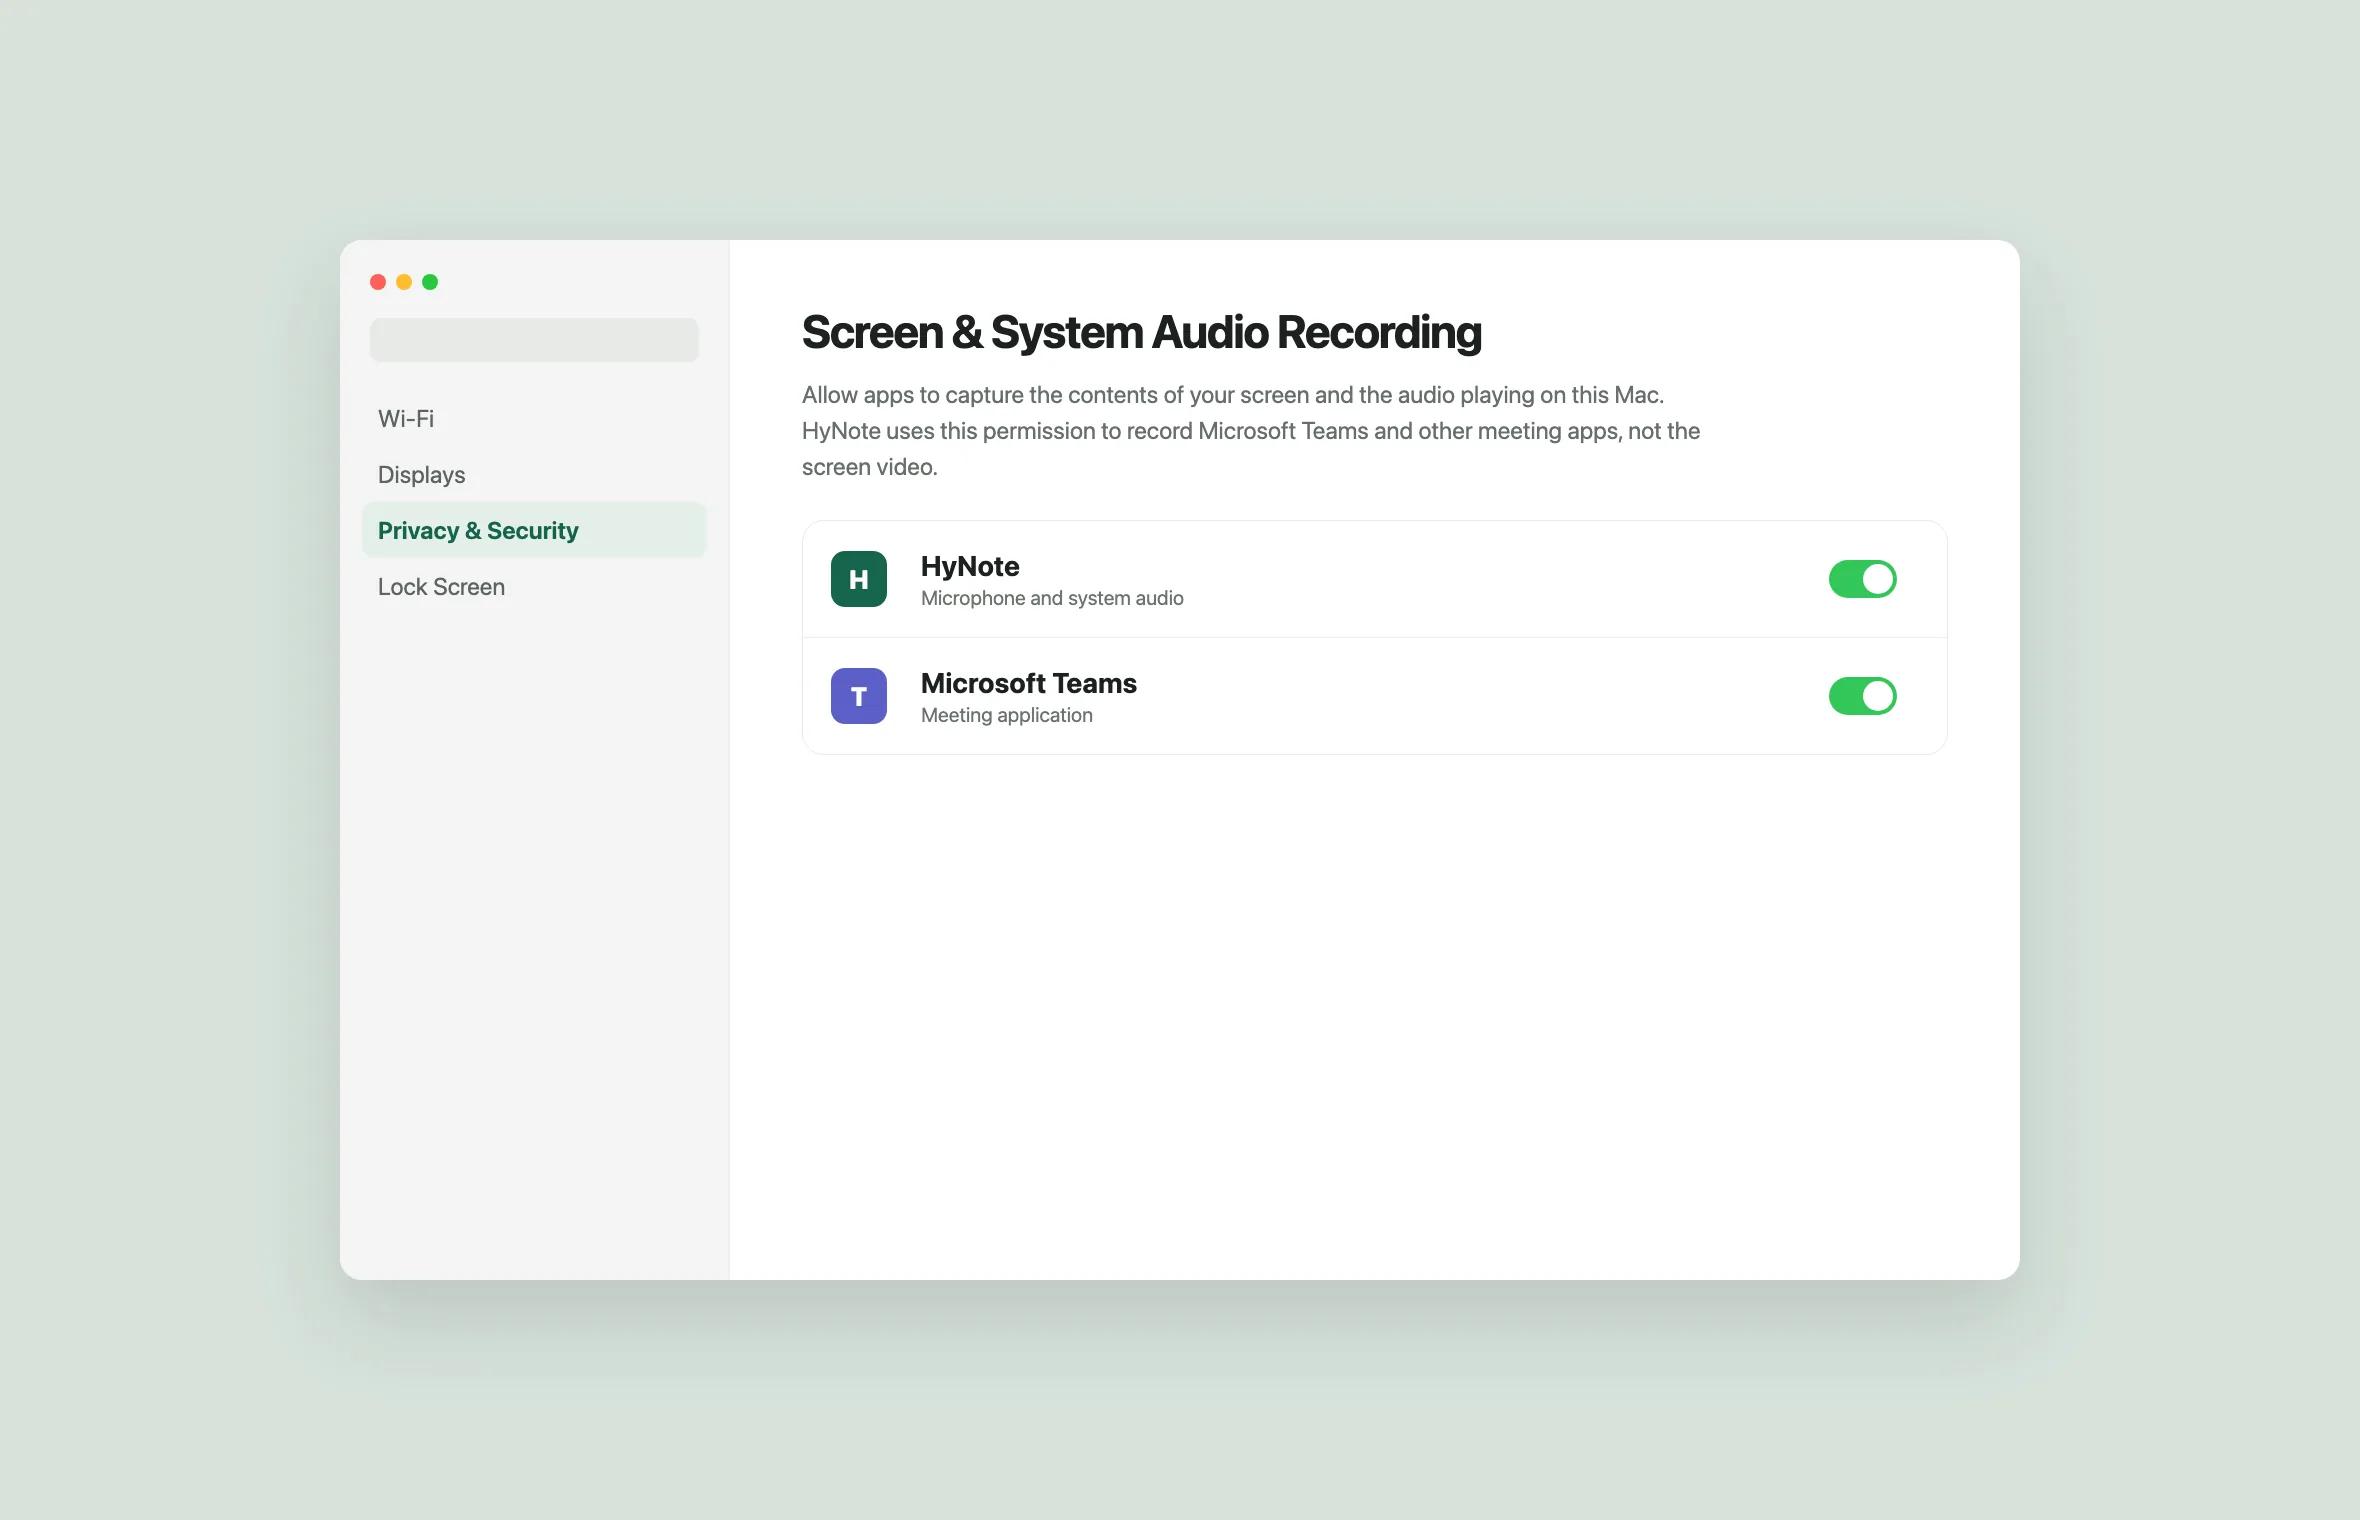
2. Turn on both Mac permissions
Open System Settings > Privacy & Security and allow HyNote in:
- Microphone — your voice and sound near the Mac.
- Screen Recording / Screen & System Audio Recording — audio that Zoom, Meet, Teams, browsers, and other apps play.
If you previously denied either permission, enable it here, then quit and reopen HyNote. macOS may require the reopen before the new audio path works.
3. Connect headphones first, then choose the input
If you will use AirPods, a USB mic, or a headset:
- 01
Connect the device.
- 02
Open HyNote Settings (or the recording panel) and confirm the microphone you expect is selected.
- 03
Speak a sentence and confirm the input waveform moves.
Do not assume macOS kept the previous input after a Bluetooth connect.
4. Choose Meeting Recording (not Voice Recording)
In HyNote:
- 01
Open New Note.
- 02
Choose storage: Cloud or On This Mac before you start.
- 03
Select Record.
- 04
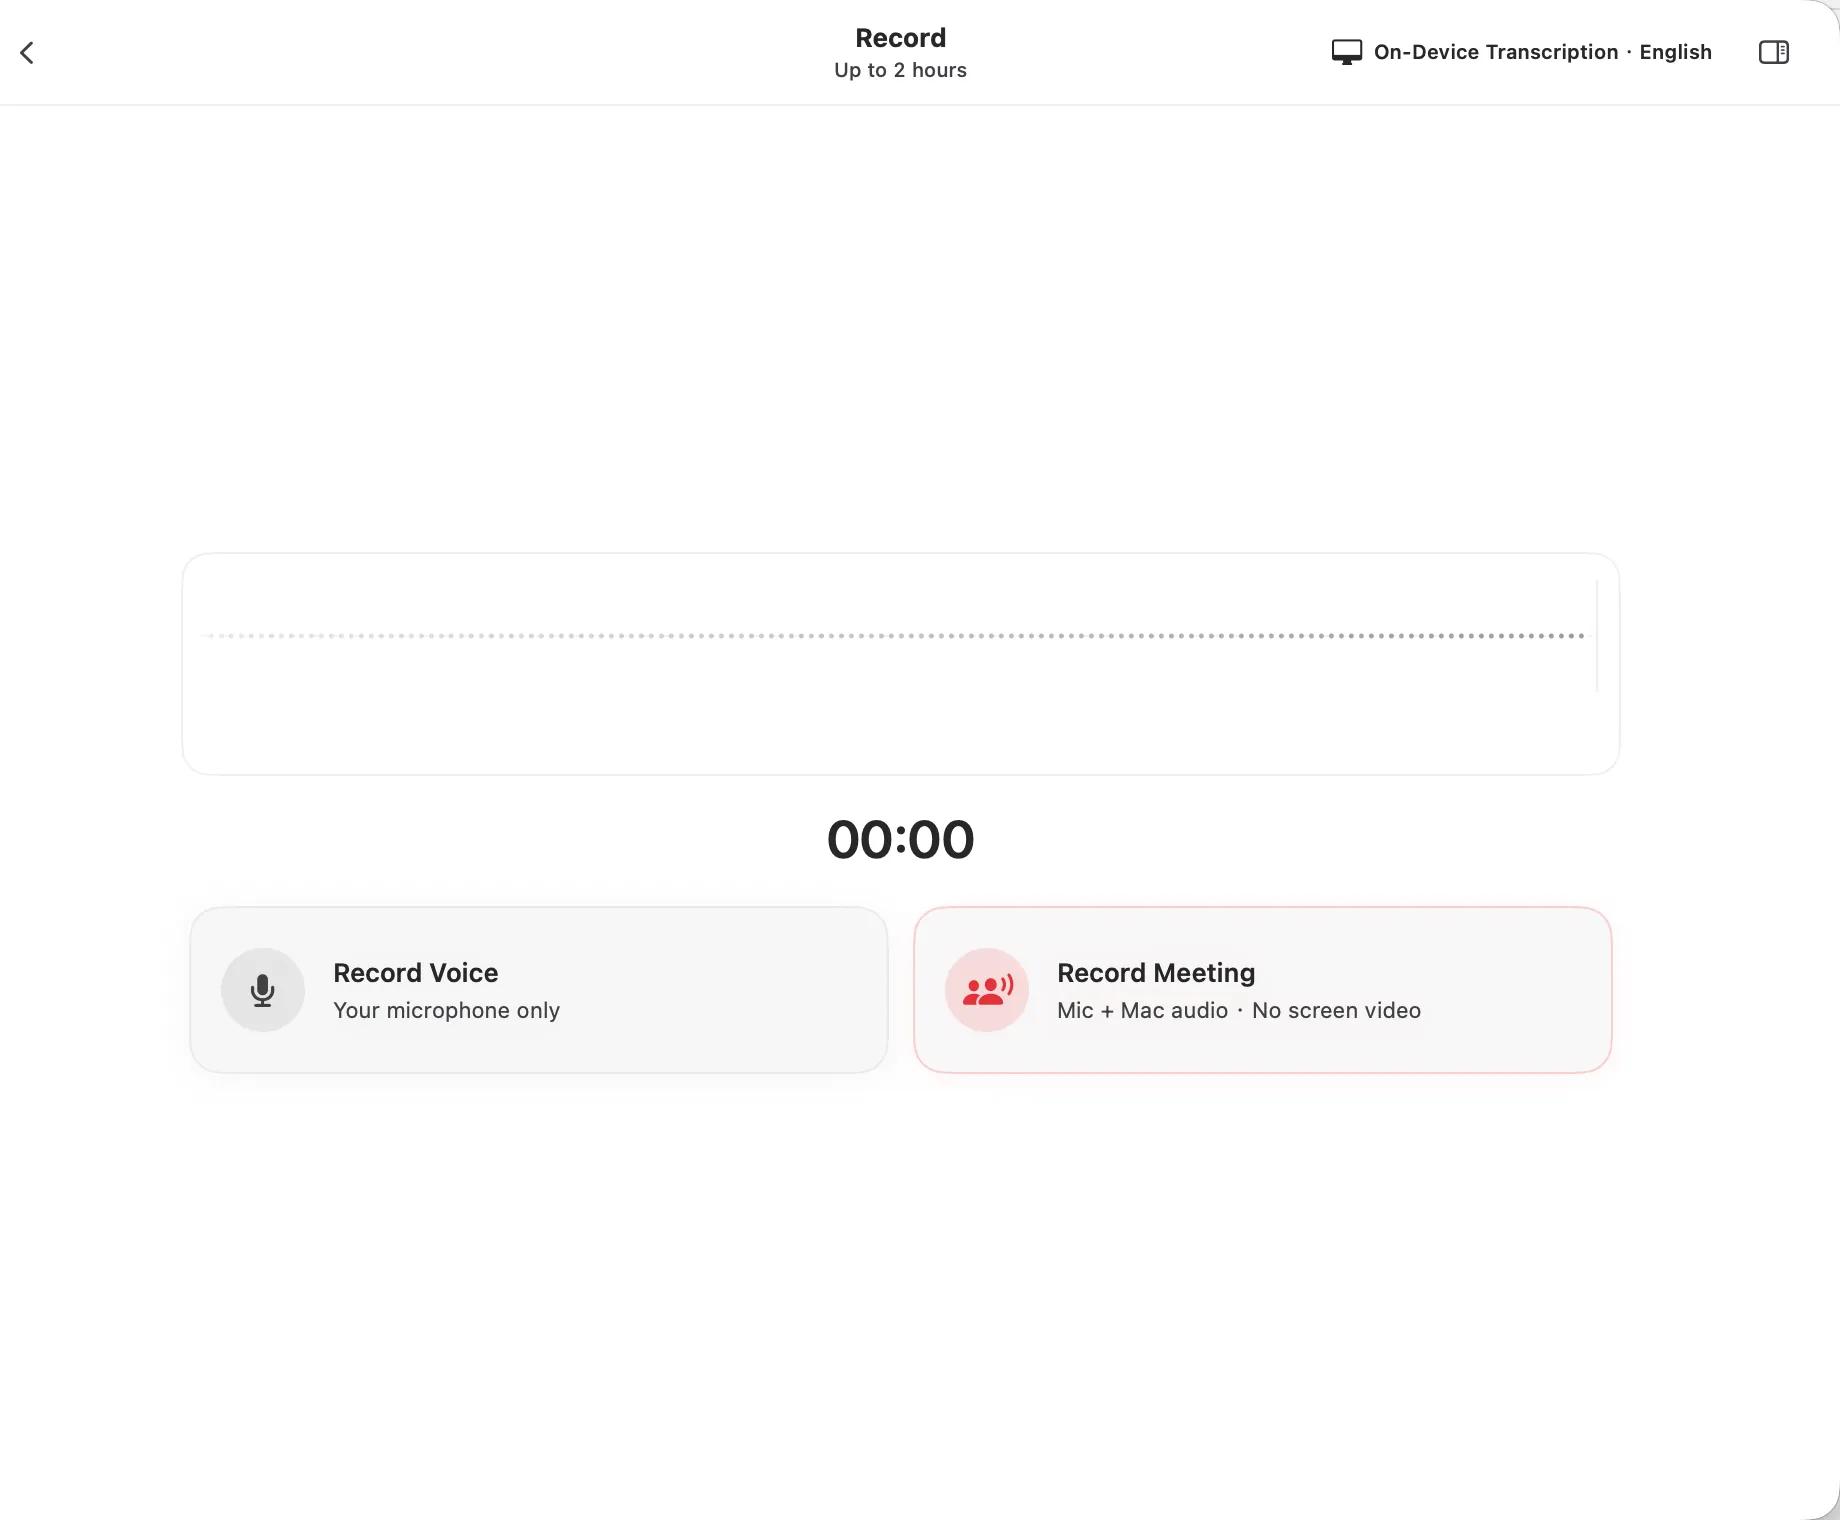
Choose Meeting Recording. Voice Recording captures the microphone only and will usually miss the other people on the call.
- 05
Select the main spoken language and an online or on-device transcription method.
- 06
Confirm the input waveform responds to sound, then start recording.
5. Run the two-minute two-sided test
Before any important meeting, connect the exact headphones and mic you will use. Start a short call with a colleague, or play a meeting-like video on the Mac while you speak.
Record 20–30 seconds while both sides talk, then stop and check:
- your voice is audible;
- the other side (or the playing app audio) is audible;
- the transcript contains both sides;
- there is no strong echo;
- names, numbers, and dates are readable.
If either side is missing, jump to Troubleshooting below before the real meeting.
6. Record the real meeting
Tell participants that you plan to record or transcribe. Start HyNote recording, then use Zoom, Meet, Teams, or any other Mac app normally. HyNote can run from the background or the Mac menu bar.
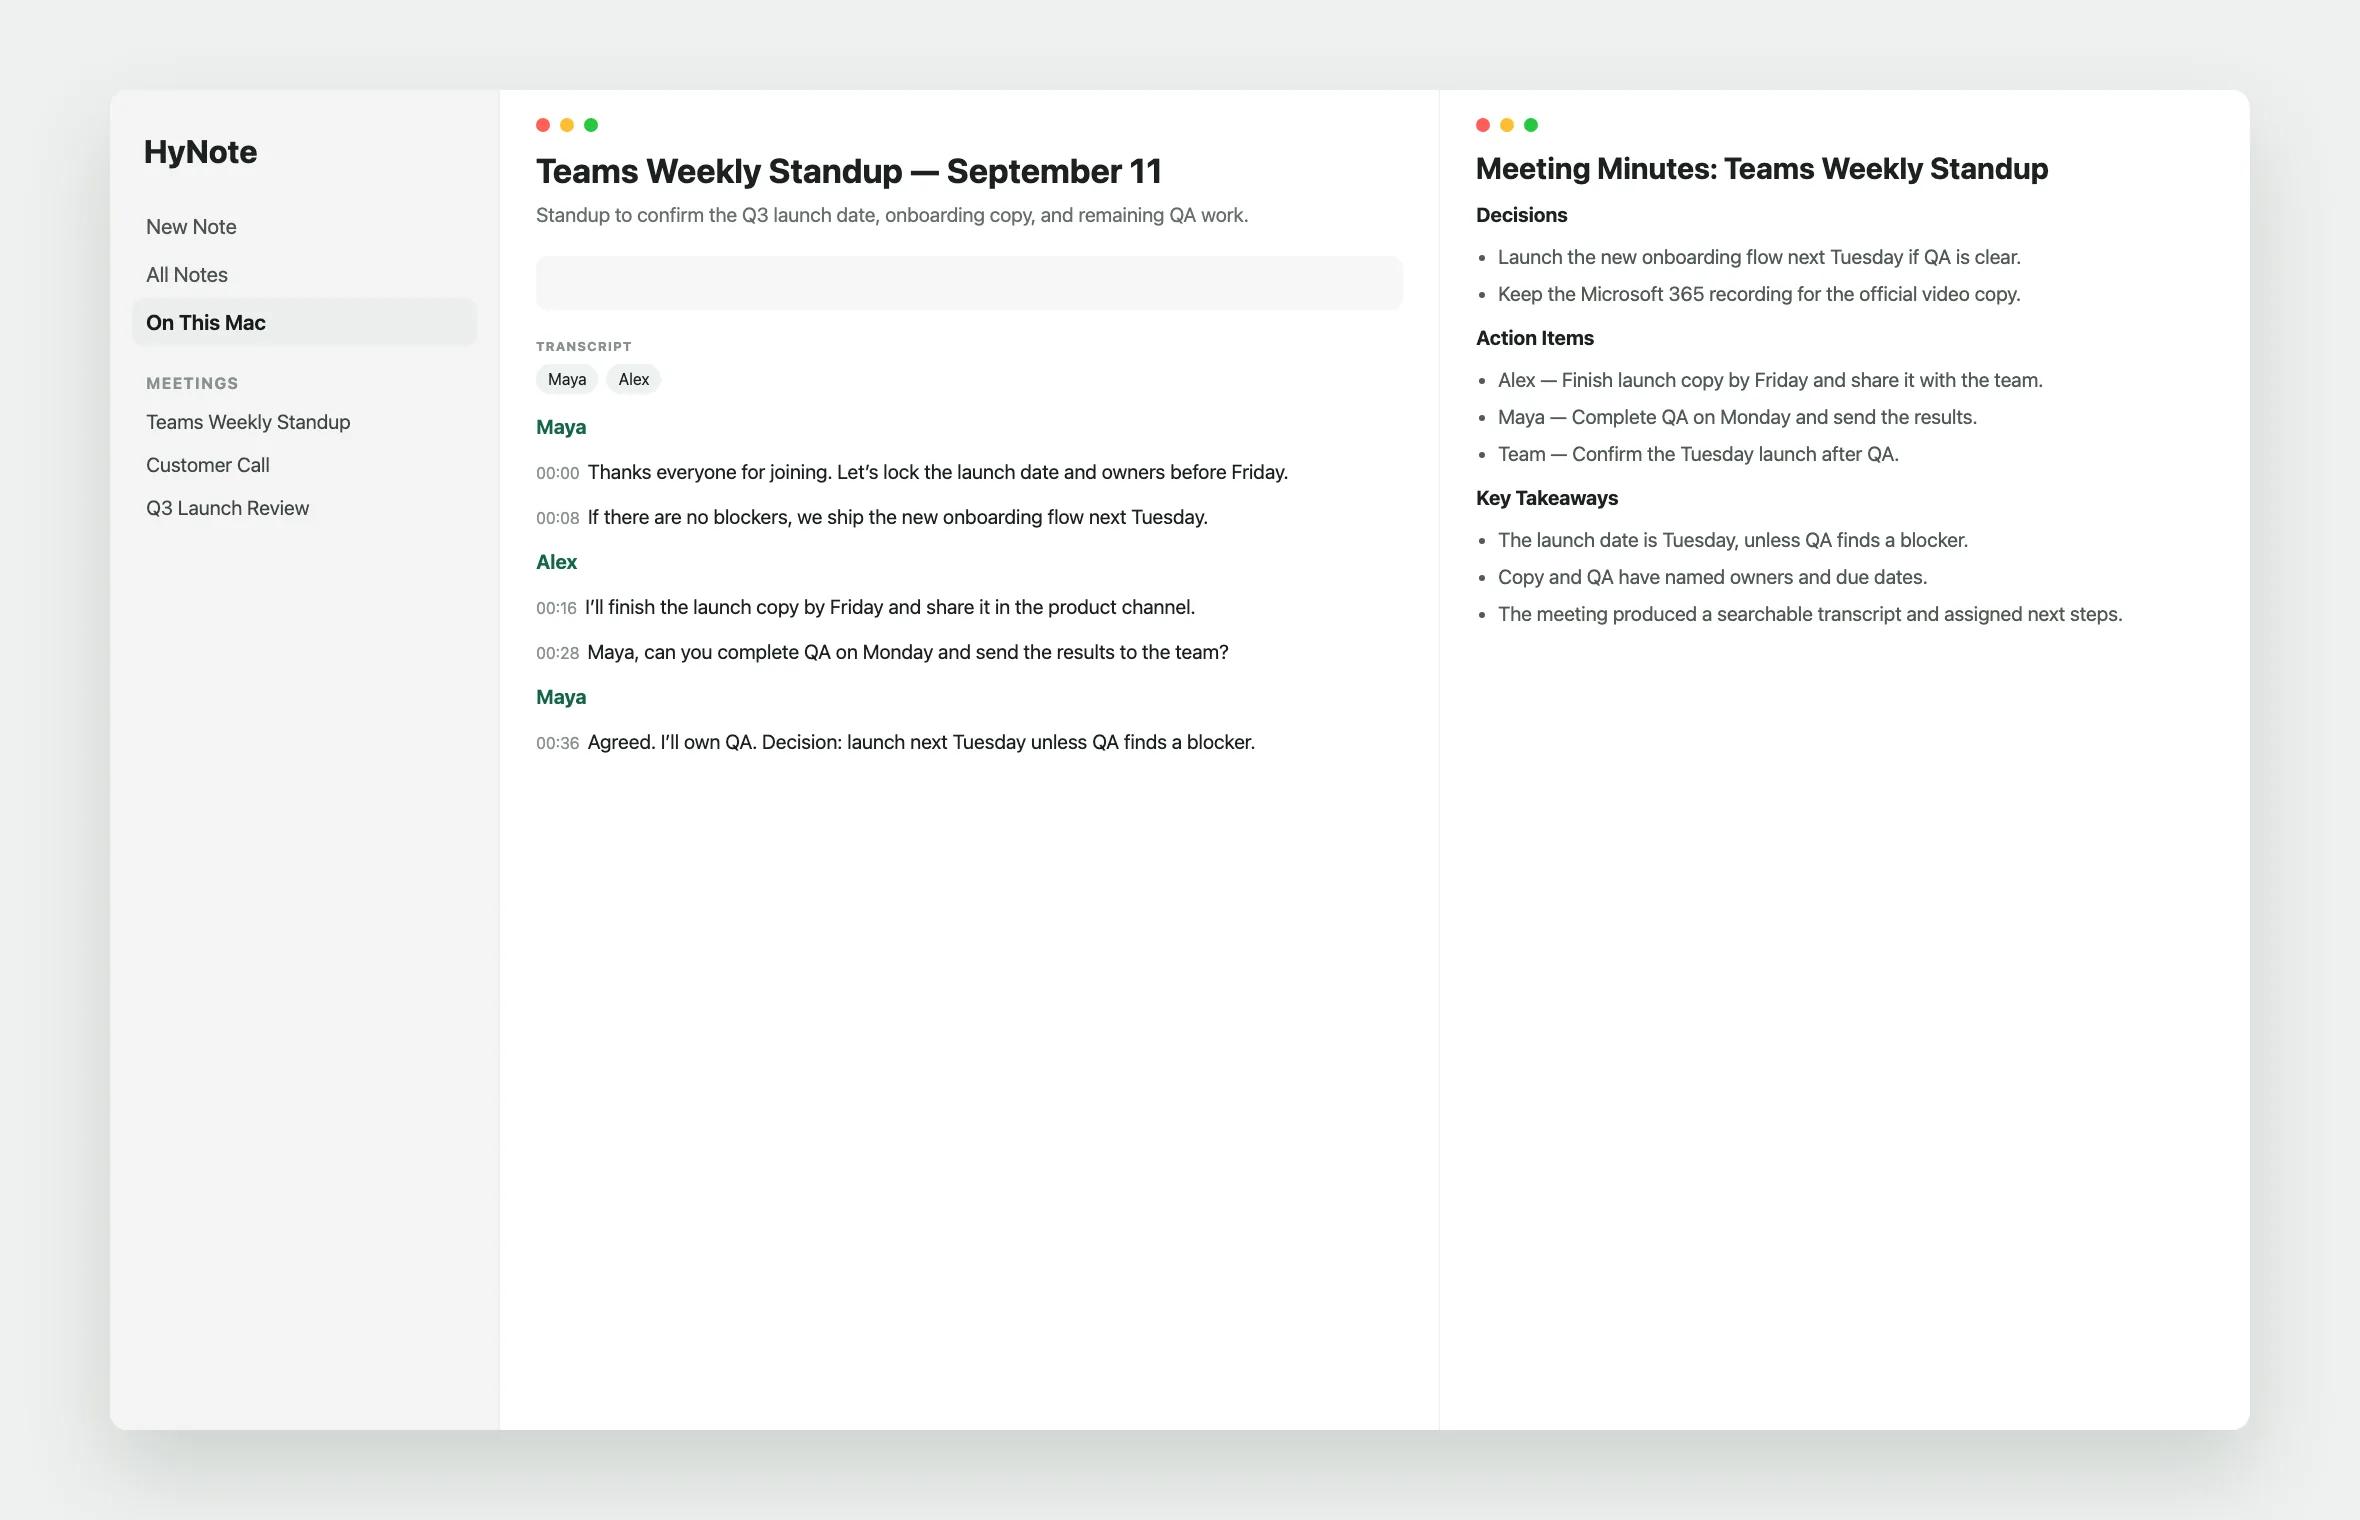
When the meeting ends, select Done. Review speaker names, numbers, dates, and commitments before sharing notes. HyNote can create a summary, key decisions, and action items from the conversation.
Headphones, speakers, and echo
| Setup | System audio path | Microphone risk | What to do |
|---|---|---|---|
| Laptop speakers + built-in mic | Call audio plays in the room | Mic may re-capture speakers → echo | Prefer headphones for any call with more than one speaker |
| Wired / USB headphones with mic | Call audio goes to the headset | macOS may switch input to the headset mic | Re-select the mic in HyNote after plugging in |
| AirPods / Bluetooth | Call audio goes to Bluetooth | Input often becomes the AirPods mic | Connect first, then confirm the waveform on the mic you want |
| External USB mic + headphones | Separate output and input | Dock or hub can reorder devices | Name-check the input device in HyNote before every long meeting |
Echo rule of thumb: if the meeting audio bleeds back into the microphone, use headphones and keep only one active input. Playing the call through speakers while the mic is open will feed the other side’s voice back into your track.
Troubleshooting
The recording only contains my voice
HyNote has microphone access, but system audio is missing.
- 01
Open System Settings > Privacy & Security > Screen & System Audio Recording (or Screen Recording).
- 02
Enable HyNote.
- 03
Quit and reopen HyNote if prompted.
- 04
Confirm you selected Meeting Recording, not Voice Recording.
- 05
Run the two-sided test again.
The recording contains the meeting but not my voice
System audio is working; the microphone input is wrong.
- 01
Check which microphone HyNote has selected.
- 02
Disconnect and reconnect Bluetooth headphones, then re-select the input.
- 03
Close other apps that may exclusive-lock the mic.
- 04
Speak and confirm the input waveform moves before you rely on the file.
Both sides are there, but the transcript is empty or delayed
This is a transcription problem, not a capture problem.
- Online transcription needs a stable connection and a supported language.
- On-device transcription needs a compatible Mac and a downloaded language model.
- Match the selected transcription language to the language actually being spoken.
See languages and availability for current ranges.
The audio has an echo or room sound
Use headphones. Confirm Zoom/Meet/Teams and HyNote use the same intended microphone. Do not play the meeting through speakers while the mic is live.
System audio permission keeps getting reset after a macOS update
Some macOS updates re-prompt or reset screen and system audio access. After an update, open Privacy & Security again, re-enable HyNote, reopen the app, and rerun the two-sided test.
What stays on your Mac
Storage location, transcription mode, and AI mode are separate settings.
On This Mac keeps the original audio and notes in the current account directory on that Mac. HyNote Cloud cannot restore deleted local notes—export or back up important files.
On-device transcription uses macOS speech capabilities when the selected language and model are ready. First use of a language may still download a model online.
Local AI requires an Apple silicon Mac, macOS 26.4 or later, Apple Intelligence enabled and available for your language and region, and system models ready.
Online transcription / Online AI send the content needed for that request to online services.
Choosing On This Mac does not automatically make every transcription or AI step local. Initial sign-in, model downloads, sync, and optional online features can still need a connection.
Recording both sides still requires consent
Capturing system audio and your microphone can record other people without a meeting-app notification. HyNote does not use Zoom, Meet, or Teams recording controls, so those apps may not announce the recording for you.
Clearly tell participants when you record or transcribe. Follow applicable law, host instructions, client agreements, employment rules, and your organization’s data policy. Stop recording if permission is refused or withdrawn.
This guide is general product information, not legal advice.
Frequently asked questions
How do I record system audio and my microphone at the same time on a Mac?
Allow Microphone and Screen & System Audio Recording for the same app, select a mode that includes Mac audio (in HyNote, Meeting Recording), then record. Always run a short two-sided test after connecting headphones.
Why does my Mac recording only have my voice?
System audio permission is usually missing, or the app mode is microphone-only. Enable system audio access, reopen the app, and use Meeting Recording.
Why does my Mac recording only have the other person?
The selected microphone is wrong—often after Bluetooth headphones changed the input. Re-select the mic in HyNote and check that the waveform moves when you speak.
Can I record meeting audio on Mac with headphones on?
Yes. Headphones usually improve echo. Connect them first, then confirm HyNote’s selected microphone (built-in, headset, or external). See the HyNote for Mac user guide for recording setup details.
Does HyNote record screen video when it uses system audio access?
No. HyNote captures meeting audio for transcription and notes. It does not record screen video. Use the meeting app’s recorder or a separate screen recorder if you need the picture.
Does this work for Zoom, Google Meet, and Teams on Mac?
Yes. HyNote captures the audio sources on the Mac, so it works with meeting apps and browsers that play audio. Platform-specific walkthroughs: Zoom on Mac and Teams on Mac.
Is recording system audio and microphone free on HyNote?
The core Mac workflow, including recording and on-device transcription on supported configurations, stays free. Online AI is optional for longer transcripts, larger files, and more complex analysis. See current Mac pricing.
Capture both sides the next time
Give HyNote microphone and system-audio access, choose Meeting Recording, connect headphones before you pick the input, and run the two-sided test. When something is still half-missing, it is almost always the permission or the mic selection—not the meeting app.
Sources
- Apple Support: Control access to screen and system audio recording on Mac
- Apple Support: Record audio in QuickTime Player on Mac
- HyNote for Mac
- HyNote for Mac user guide
- HyNote languages and availability
- HyNote Security
Last updated: September 2026. Disclosure: This guide was written by the HyNote team. macOS permission names and plan limits may change; check the linked Apple and HyNote pages for current details.